Dynamically generated open graph images using Astro and Urlbox
Often, it’s just not feasible for clients to manually create their own custom social share images for each page within their website. Sure, they could use the same image for all pages, but it’s actually quite nice to have these tailored specifically to the page or URL being shared.
It might seem like one small aspect in the grand scheme of building a website, but automating the generation of these social share images is a really nice touch, IMHO. Removing barriers to shipping content and cutting down on the number of assets that need to be created is always going to feel like a win.
There are several ways this can be achieved—whether that’s by using a package like Puppeteer, or a hosted screenshot API service like Screenshotlayer, among others, of course.
I’ve used Urlbox for this very purpose recently, and I really like the workflow. Sure, it is a paid service (and rightly so), so it may not be suitable for every use case, but it’s been an acceptable line item cost for the projects I’ve worked on.
Getting started
First, it’s worth browsing through the quick start guide on the Urlbox website. I often hate reading docs, but these are well written.
You’ll, of course, need to get set up with a Urlbox account too. Once signed up, you’ll get a Publishable Key and Secret Key from your Urlbox dashboard.
The method I’ve used with good success has been Urlbox’s Render Links feature, which lets you generate screenshots by simply rendering a given URL with custom parameters.
For the site build itself, I’m using Astro. It’s a framework I absolutely love working with. For other frameworks, the workflow will be somewhat similar, syntax aside.
Once we have all of this done, the // TODO list is roughly:
- Set up a
[...slug].astrotemplate that’s a catch-all dynamic route for all collections. - Style this template accordingly and dynamically inject data such as the page title.
- Configure the
<BaseLayout>template’s metadata to use Urlbox to render a screenshot for the requested page.
Easy as that, right?!
Setting up the template
I’ve found the easiest method is to create a folder and template using the following path structure: ./src/pages/og/[...slug].astro. I like to keep this separate to make it clear in the URL structure that these pages serve a specific purpose.
The following code is a pared-back example, but it shows the basic workings of my default template.
For now, I’m just pulling data from my writing collection, but this can easily be extended to include all content collections.
[...slug].astro
---
import { getCollection } from 'astro:content';

export async function getStaticPaths() {
  const writingPosts = await getCollection('writing');

  return writingPosts.map((entry) => ({
    params: { slug: entry.slug },
    props: { entry },
  }));
}

const { entry } = Astro.props;
---

<html lang="en">
  <head>
    <meta charset="utf-8" />
    <meta name="viewport" content="width=device-width" />
    <meta name="robots" content="noindex" /><!-- We don't want these pages indexed -->
  </head>
  <body>
    <main>
      <h1>
        {entry.data.title}
      </h1>
    </main>
  </body>
</html>
It’s worth at this point showing the basic schema for the content collection itself.
config.ts
import { z, defineCollection } from 'astro:content';
const writingCollection = defineCollection({
type: 'content',
schema: z.object({
title: z.string(),
pubDate: z.date(),
excerpt: z.string().optional(),
}),
});
export const collections = {
writing: writingCollection,
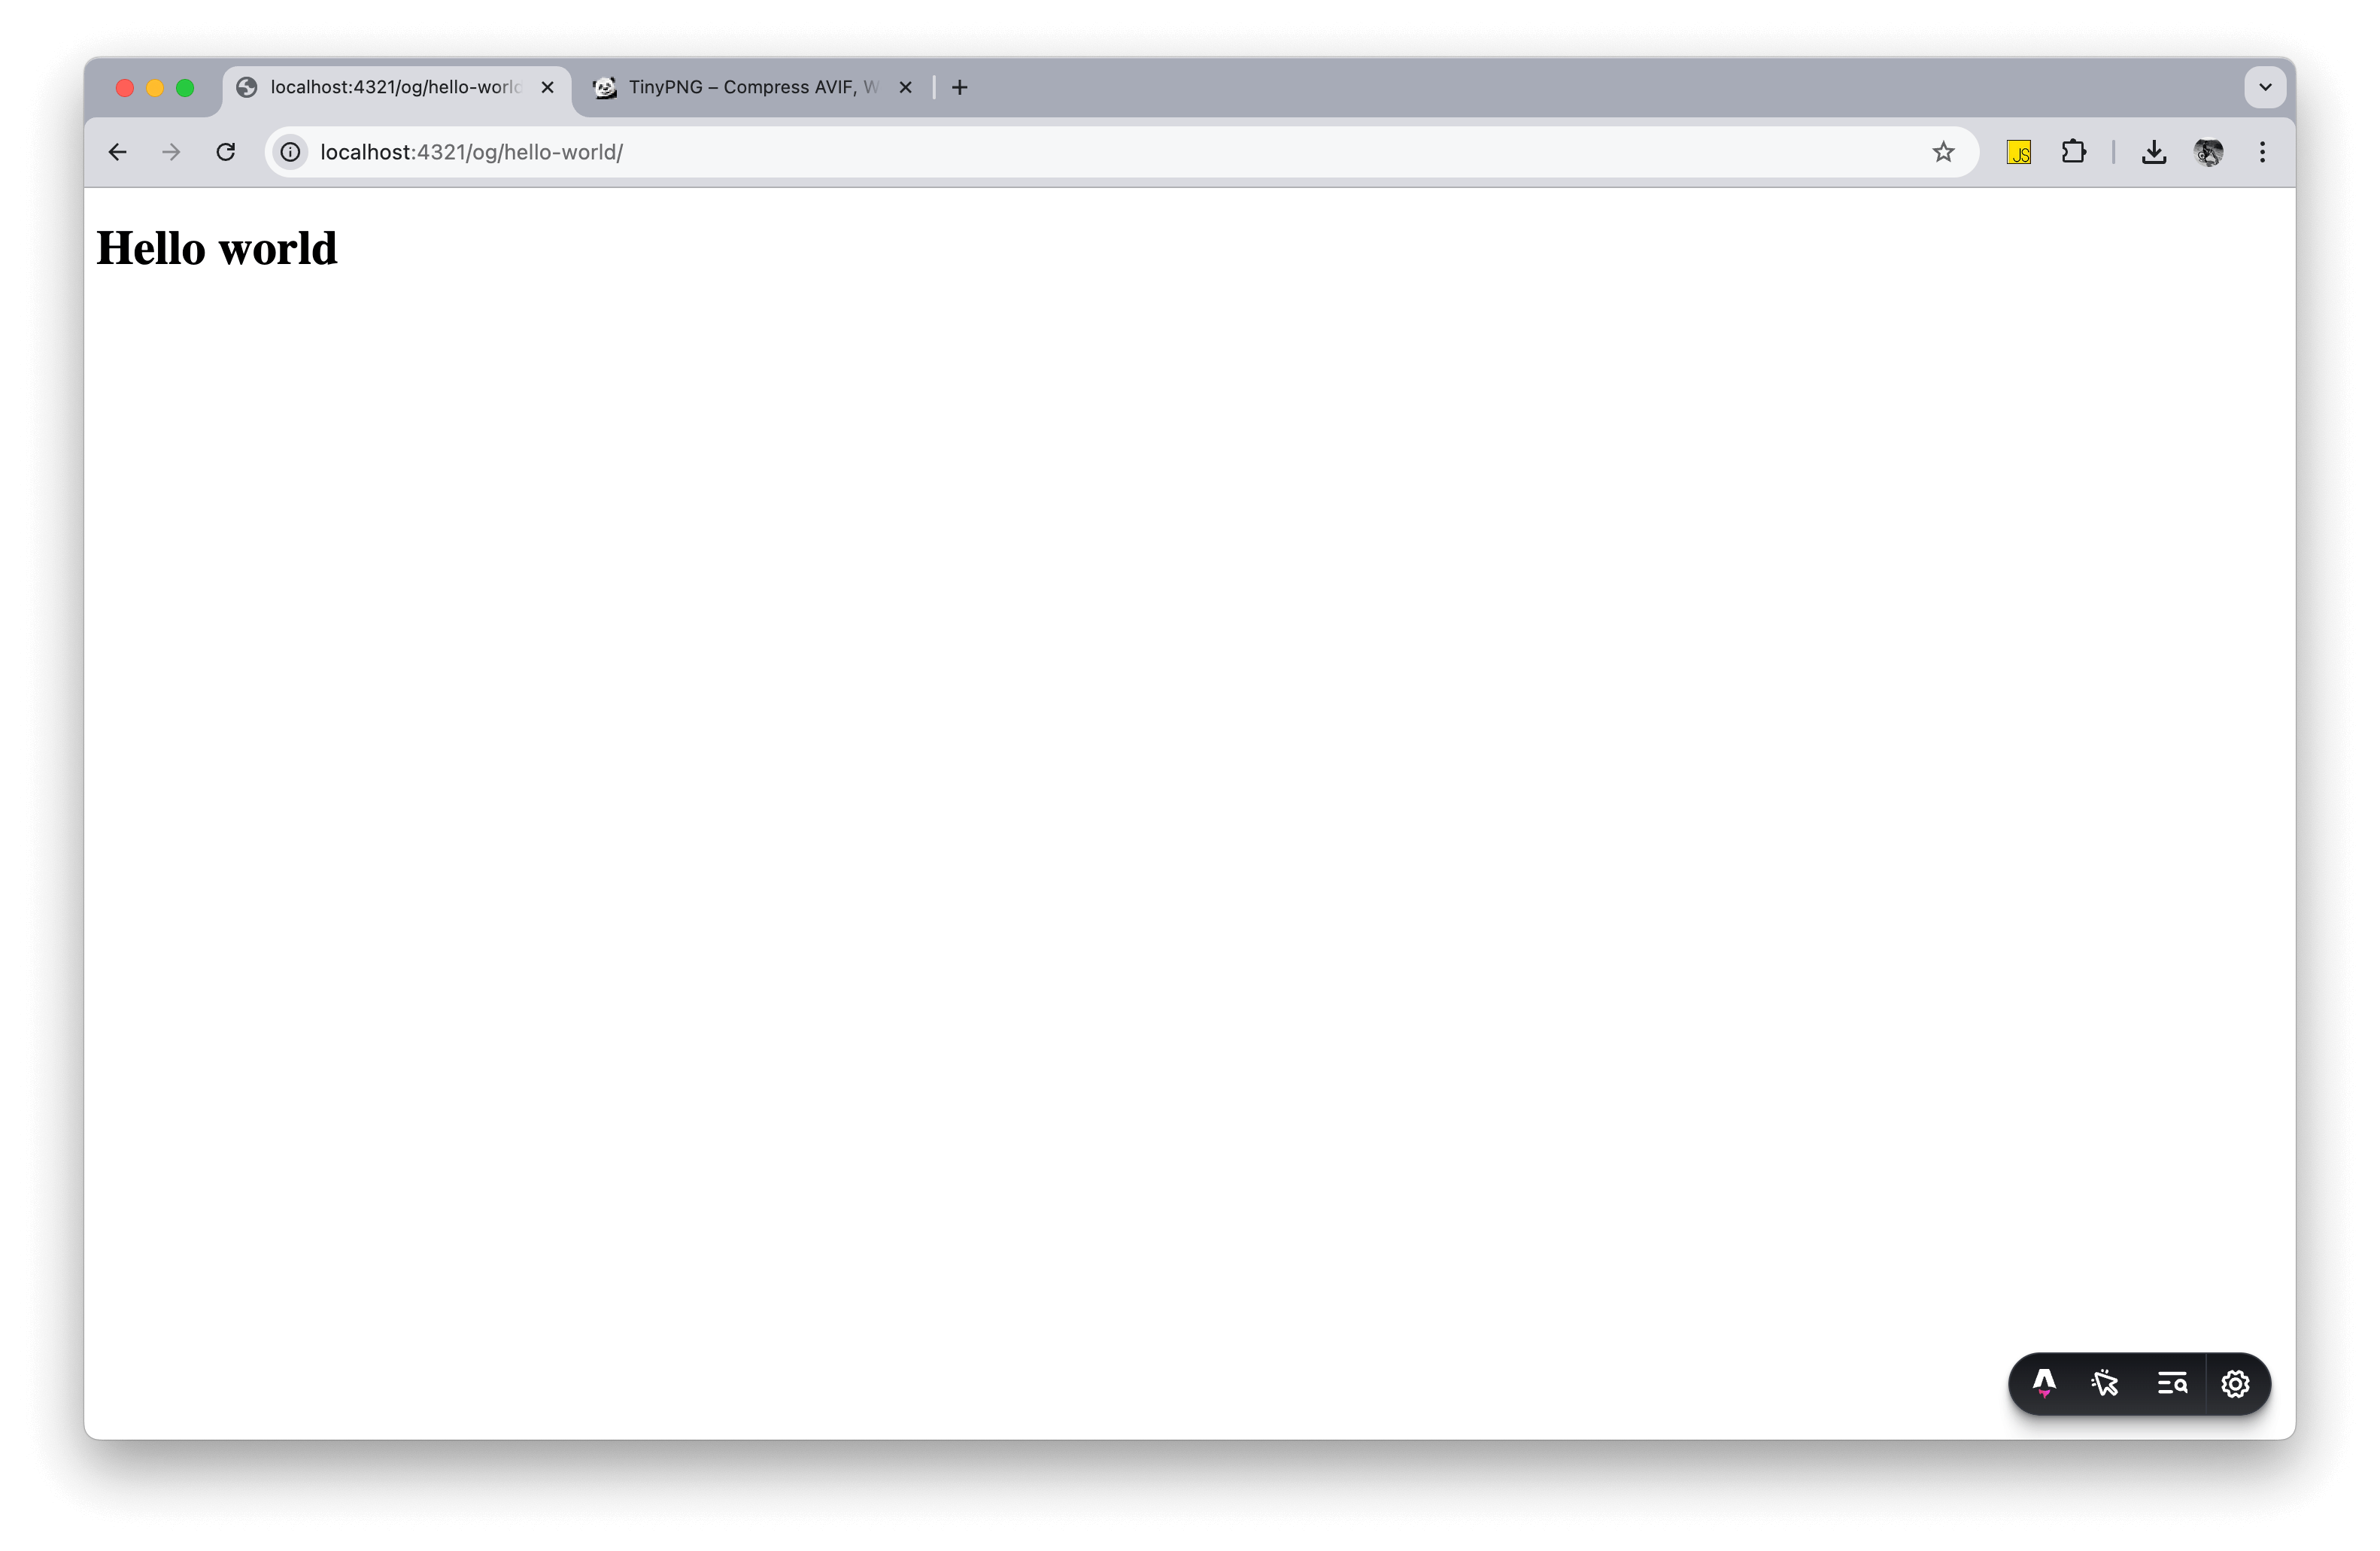
};Once this is done, you can visit any slug from your own content collection, in my example I go to http://localhost:4321/og/hello-world/ and see the following:
Styling the template
For anything style-related I like to keep things simple. Firstly, I’ll grab my global CSS—the cascade should do a good job of informing a bunch of the design decisions here.
Next, I’ll add some styles specifically for the .social-card itself. I usually add these directly to the template itself, since it feels like the most logical place and we want to be intentional about their usage. They are only ever used in this context too.
[...slug].astro
---
import { getCollection } from 'astro:content';

import '../../css/global.css';

export async function getStaticPaths() {
  const allBlogPosts = await getCollection('writing');

  return allBlogPosts.map((entry) => ({
    params: { slug: entry.slug },
    props: { entry },
  }));
}

const { entry } = Astro.props;
---

<html lang="en">
  <head>
    <meta charset="utf-8" />
    <meta name="viewport" content="width=device-width" />
    <meta name="robots" content="noindex" /><!-- We don't want these pages indexed -->
    <style>
      .social-card {
        display: flex;
        width: 1024px; /* Match the width of screenshot request via Urlbox */
        height: 526px; /* Match the height of screenshot request via Urlbox */
        max-width: 1024px;
        max-height: 526px;

        background-color: var(--color-dark);
        color: var(--color-light);
      }

      .social-card__wrapper {
        display: flex;
        flex-direction: column;
        justify-content: center;
        padding: 5rem;
      }

      h1 {
        font-size: 4rem;
        line-height: 1;
        max-width: 30ch;
      }
    </style>
  </head>
  <body>
    <main>
      <div class="social-card">
        <div class="social-card__wrapper">
          <h1>
            {entry.data.title}
          </h1>
        </div>
      </div>
    </main>
  </body>
</html>
You’ll end up with something similar to this:
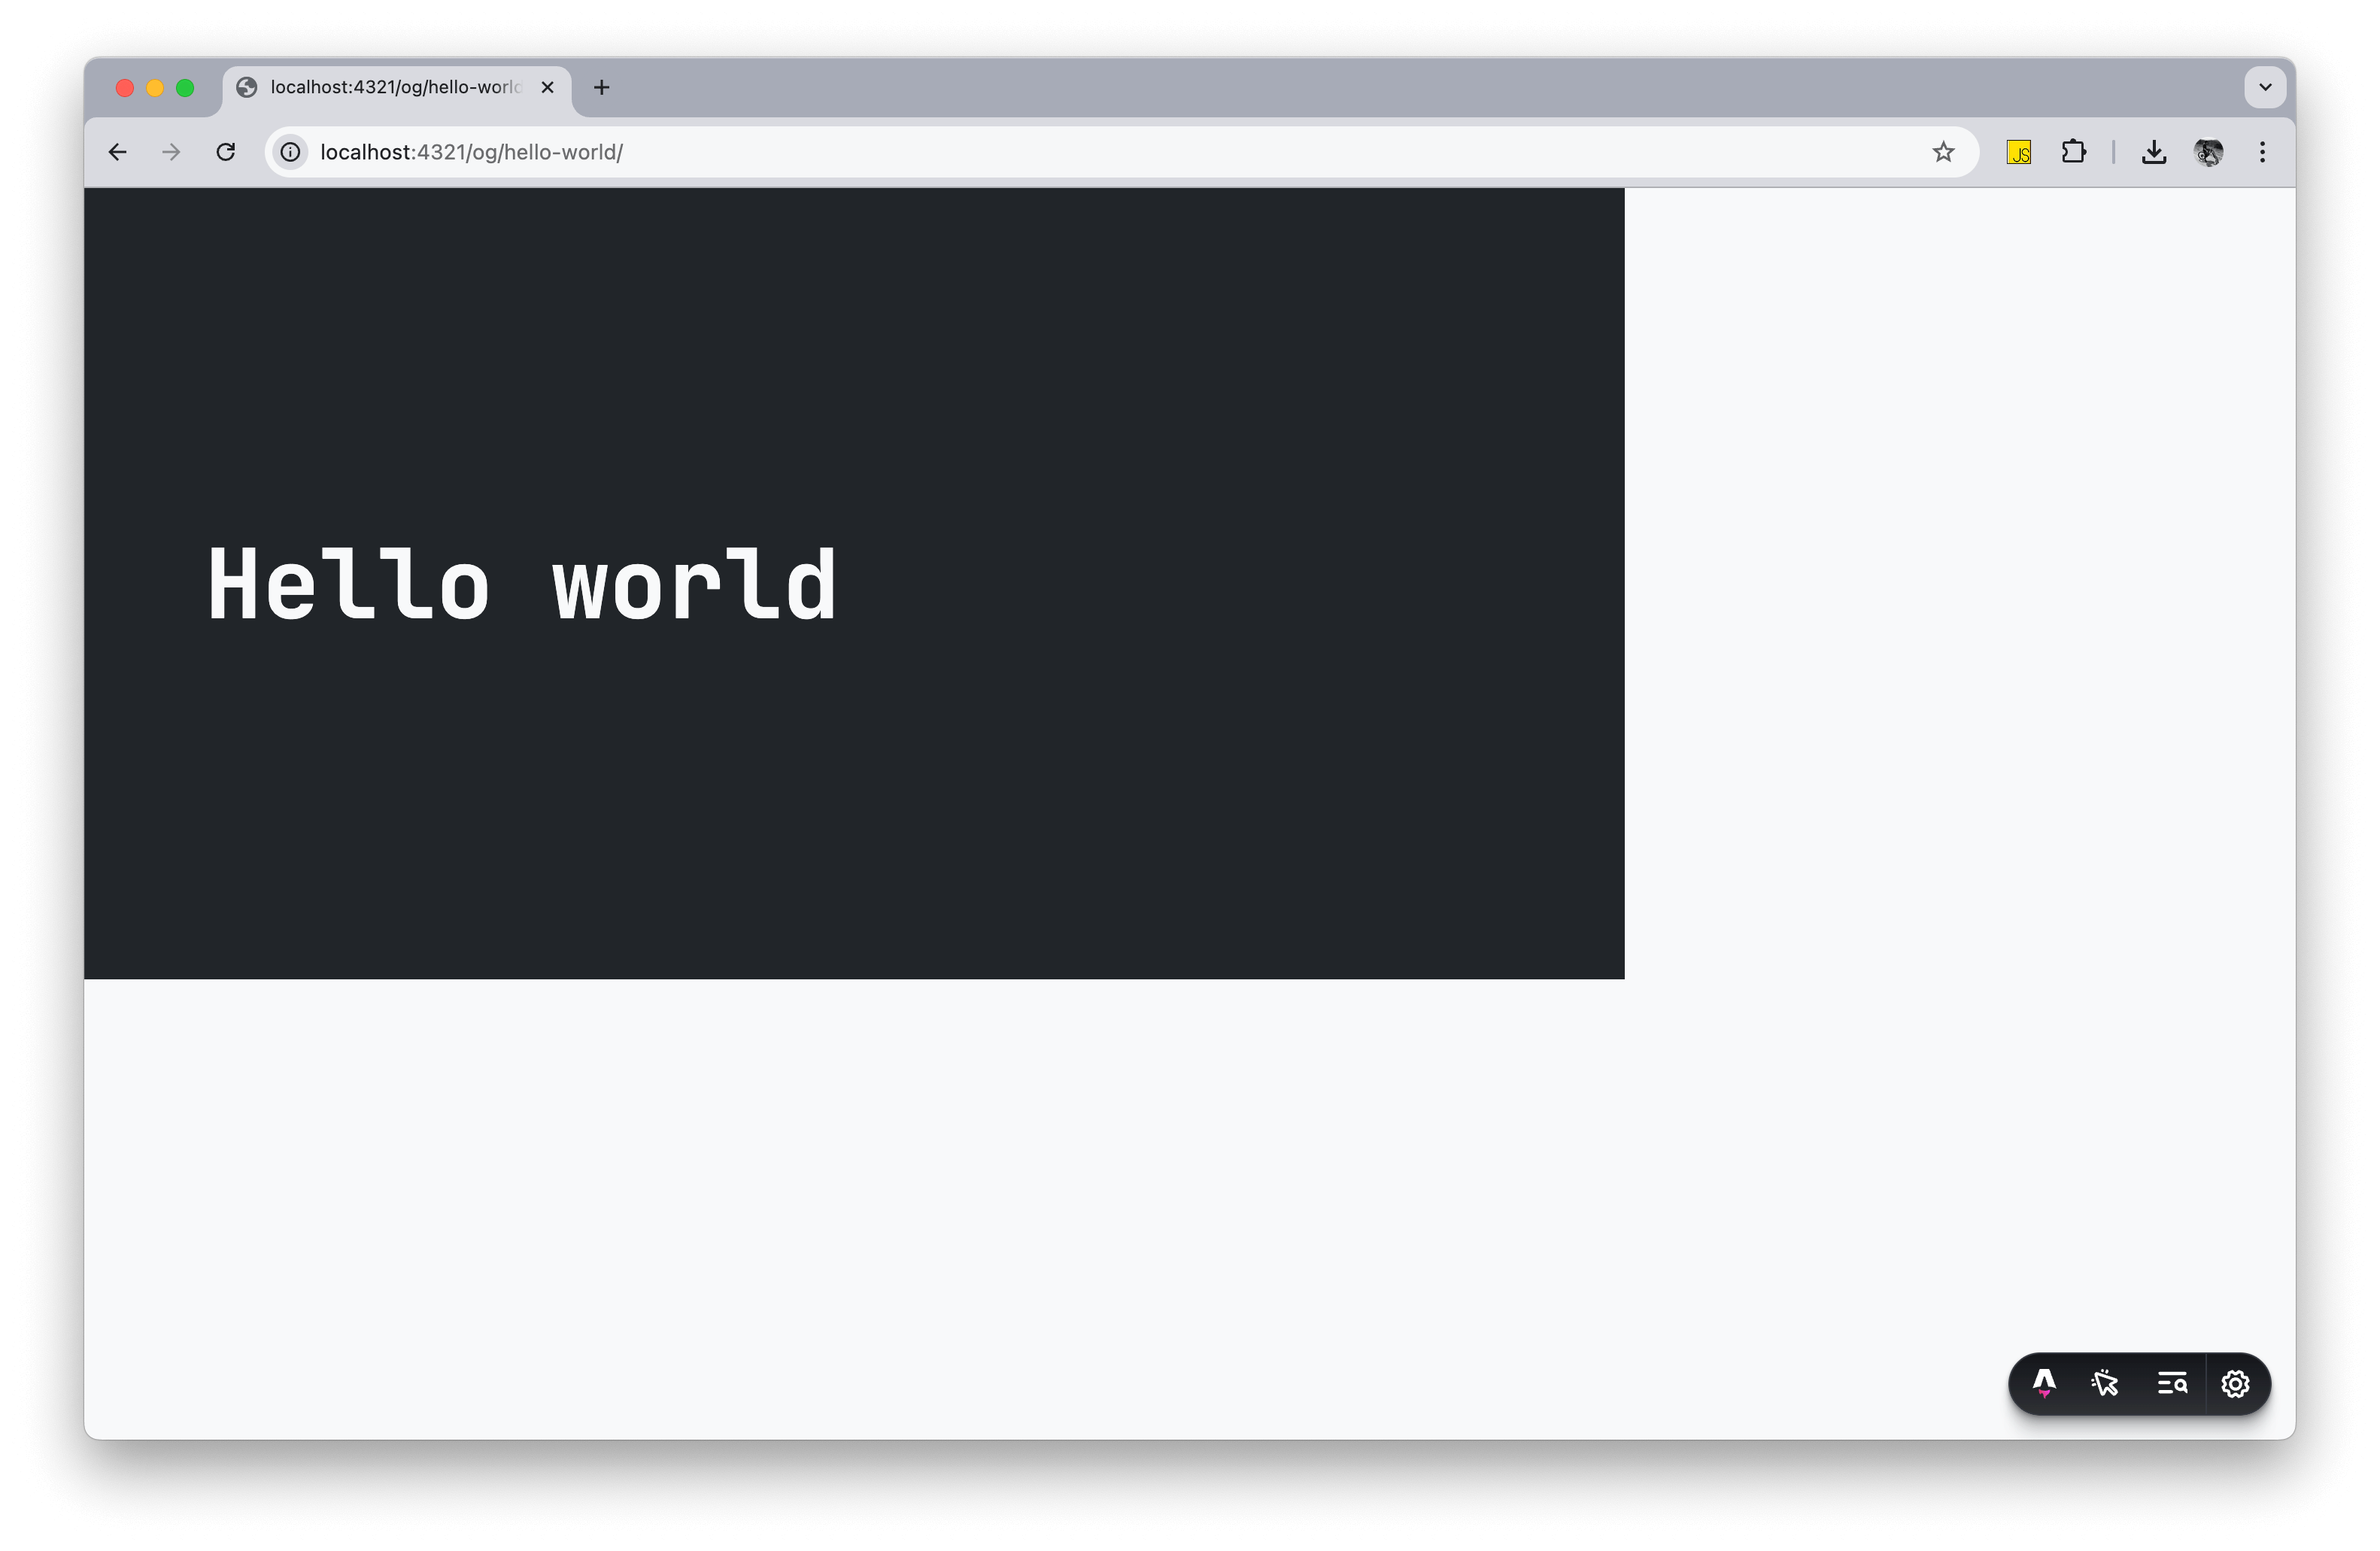
It’s a simple example, but it gets the idea across.
You can get creative here—add metadata like author names, your site’s logo, or anything else that gives the card personality. Just be mindful of font sizing and make sure long titles or other text won’t overflow or break out of this fixed layout.
The key caveat is to ensure everything fits within the width and height we’ve chosen for capturing screenshots. For this, my defaults are a width of 1024px and height of 526px. More on this next!
Configuring the BaseLayout template
In every project, I have a BaseLayout.astro, which serves as an astro layout acting as the shell for all my pages. This includes the <html>, <head> and <body> tags etc.
A very basic example of this template will look like:
BaseLayout.astro
---
const { title } = Astro.props;
---

<html lang="en">
  <head>
    <meta charset="utf-8" />
    <meta name="viewport" content="width=device-width" />
    <title>{title}</title>
  </head>
  <body>
    <main tabindex="-1" id="main-content">
      <slot />
    </main>
  </body>
</html>
Normally, I’d abstract all my metadata into its own partial, but for now let’s just add this to our BaseLayout including only the open graph image tags for simplicity. In addition I’ll be creating a JavaScript helper too.
BaseLayout.astro
---
import { getUrlboxImageFromCurrentPath } from '@/helpers/getUrlboxImageFromCurrentPath.js';

const { title, summary, canonicalURL, allowRobots = true } = Astro.props;

const siteOrigin = Astro.url.origin || 'https://your-site.com';
const pathname = Astro.url?.pathname || '/';
const ogImageURL = getUrlboxImageFromCurrentPath(pathname, siteOrigin);
---

<html lang="en">
  <head>
    <meta charset="utf-8" />
    <meta name="viewport" content="width=device-width" />
    <title>{title}</title>

    {
      ogImageURL && (
        <>
          <meta name="twitter:card" content="summary_large_image" />
          <meta property="og:image" content={ogImageURL} />
          <meta name="twitter:image" content={ogImageURL} />
          <meta property="og:image:alt" content={`Page image for ${title}`} />
          <meta name="twitter:image:alt" content={`Page image for ${title}`} />
        </>
      )
    }
  </head>
  <body>
    <main tabindex="-1" id="main-content">
      <slot />
    </main>
  </body>
</html>
I’ll add the helper here: src/helpers/getUrlboxImageFromCurrentPath.js.
getUrlboxImageFromCurrentPath.js
import * as crypto from 'crypto';

/**
 * Generates a Urlbox OG image URL based on the current page path.
 * @param {string} pathname - e.g. "/writing/my-post/"
 * @param {string} origin - e.g. "https://your-site.com"
 * @returns {string} Full Urlbox image URL
 */
export function getUrlboxImageFromCurrentPath(pathname, origin) {
  // Ensure trailing slash unless root
  const normalisedPath = pathname === '/' ? '/' : pathname.endsWith('/') ? pathname : `${pathname}/`;

  // Prepend /og to mimic image-generating route
  const ogPath = `/og${normalisedPath}`;

  const ogURL = `${origin}${ogPath}`;
  const options = `url=${ogURL}&width=1024&height=526&retina=true`;

  const token = crypto
    .createHmac('sha256', import.meta.env.URLBOX_SECRET_KEY)
    .update(options)
    .digest('hex');

  return `https://api.urlbox.io/v1/${import.meta.env.URLBOX_API_KEY}/${token}/png?${options}`;
}
There’s quite a lot going on here, so let’s break it down.
A quick look at the helper
The getUrlboxImageFromCurrentPath helper looks a bit involved, but it’s really just building a secure URL to tell Urlbox what to screenshot and how.
How do we do this?
- Normalise the path
We make sure the URL path ends with a slash, just to keep things consistent:
const normalisedPath = pathname === '/' ? '/' : pathname.endsWith('/') ? pathname : `${pathname}/`;- Point to the OG route
We add /og to the front so Urlbox screenshots our custom OG page:
const ogPath = `/og${normalisedPath}`;
const ogURL = `${origin}${ogPath}`;- Set screenshot options
Here we define the size and enable high-res resolution:
const options = `url=${ogURL}&width=1024&height=526&retina=true`;Remember earlier when we decided what dimensions to set the .social-card? This is where they become important.
- Sign the request
Urlbox needs each request to be signed using your secret key:
const token = crypto
  .createHmac('sha256', import.meta.env.URLBOX_SECRET_KEY)
  .update(options)
  .digest('hex');
It’s worth pointing out here that our credentials will be stored in an .env file. You can read more about those here.
- Return the full image URL
We combine everything into the final image URL used in your OG meta tags:
return `https://api.urlbox.io/v1/${import.meta.env.URLBOX_API_KEY}/${token}/png?${options}`;That’s it! With a little setup, you have dynamic OG images that feel native to your content and require zero manual effort per page.